
Drawer slides play a crucial role in providing smooth motion and functionality in your furniture and cabinets. Installing new drawer slides, either on a second-hand furniture piece or to replace damaged slides, is a simple task. By following the right tools and a bit of patience, you can transform your drawers with ease. Here we will take you through installing new drawer slides so that your DIY project turns out to be a success.
Step 1: Select the Appropriate Drawer Slides
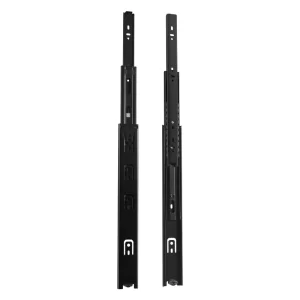
You need to select the appropriate type of drawer slides for your application before starting the installation. There are three basic types:
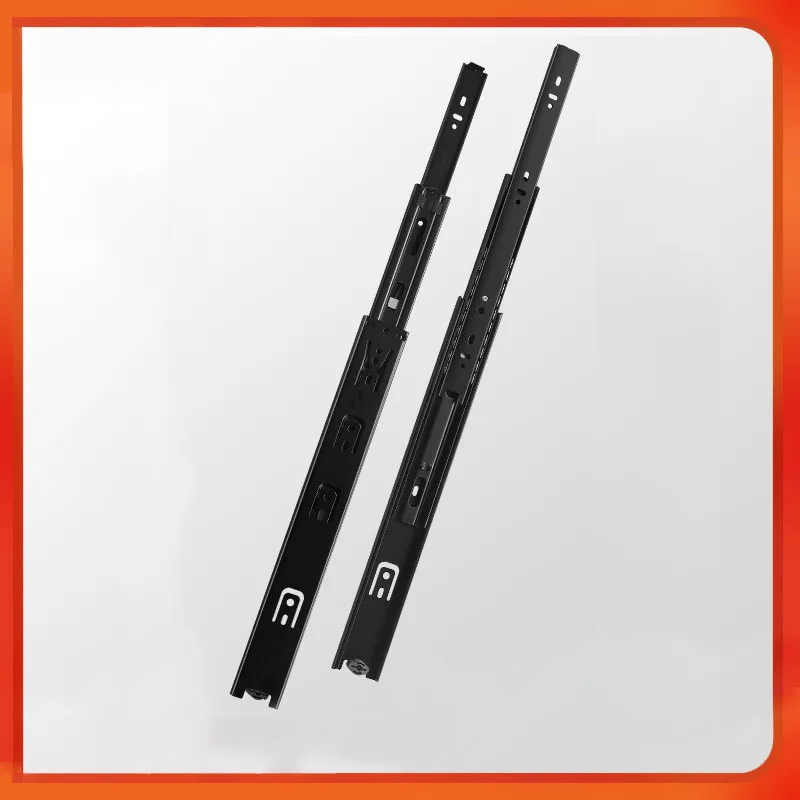

Side-Mount Slides: Installed on the drawer sides and cabinet sides, they are the most popular type.
Under-Mount Slides: Installed under the drawer, they provide a cleaner appearance and are best suited for full-extension drawers.
Center-Mount Slides: Located in the middle of the drawer, providing limited visibility but needing precise alignment.
Ensure that the slides you purchase are suitable for your drawer’s weight and size, and that they’ll work with your particular cabinet.
Step 2: Take Out the Old Drawer Slides (if necessary)
If you’re installing new drawer slides to replace old ones, you’ll need to remove the old ones first. Take the slides out of both the drawer and the cabinet by using a screwdriver. Carefully remove any screws and slide the old slides out without damaging the drawer or cabinet.
Step 3: Measure and Mark for Proper Positioning
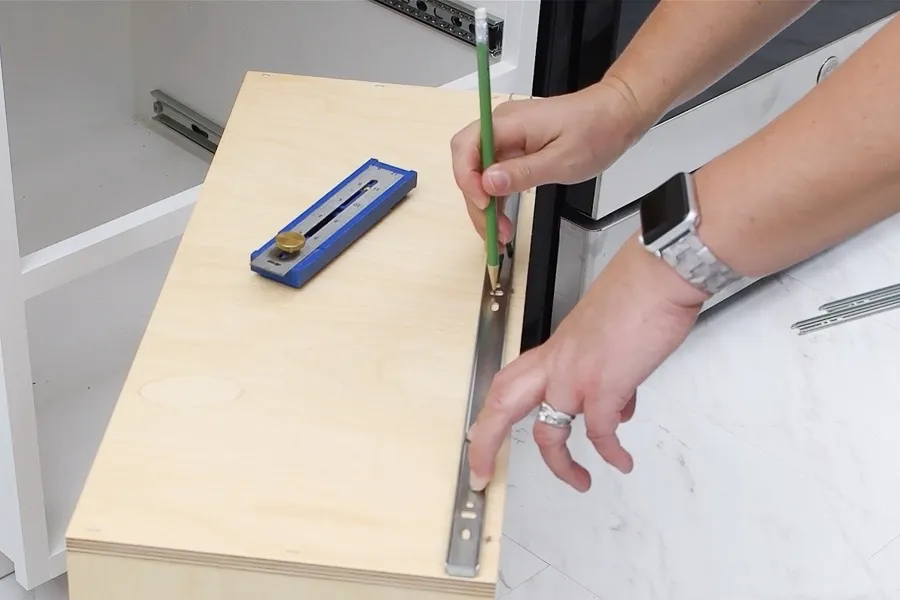
The right measurements are crucial in having your new slides fit like a glove. Begin by measuring the side of the drawer so that you know where the slides will be mounted. Mark with a pencil where the screws are to go, ensuring that they are both horizontally and vertically aligned.
Then mark the same locations on the cabinet where you will be mounting the other side of the slides.
Step 4: Mount the Drawer Slide on the Drawer
Start by mounting one section of the slide on the drawer side. Keep the slide in position and align it with your previous marks. Align it, then attach the slide using screws. Ensure the slide is level and straight, as this will determine how smoothly the drawer operates.
Do the same on the opposite side of the drawer so that the two slides will be installed evenly.
Step 5: Install the Matching Part of the Slide in the Cabinet
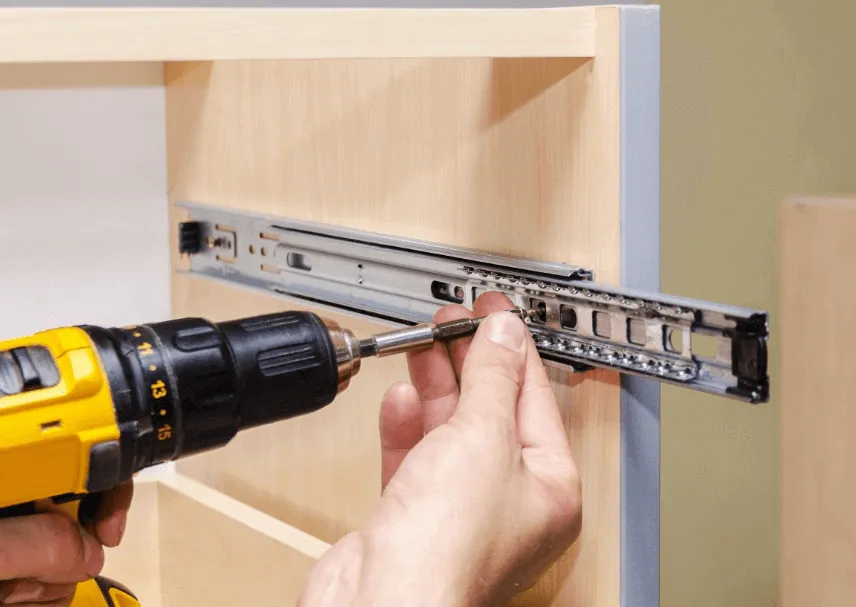
With the side drawer completed, you can now place the respective slide piece into the cabinet. Once again, match the slides to the marks you had previously made. Screw the slides securely into position, making sure they are level and even.
Step 6: Test the Drawer
After both slides are mounted, push the drawer into the cabinet carefully for alignment. The dresser drawer should move in and out freely without any resistance whatsoever. If it is slightly stiff, the screws might need to be tightened a fraction of an inch for a snug fit.
Step 7: Final Adjustments
If the drawer won’t close all the way or is sticking, inspect the slides’ alignment and realign if necessary. Make sure both slides are parallel to one another and that the drawer is not overloaded for the slides.
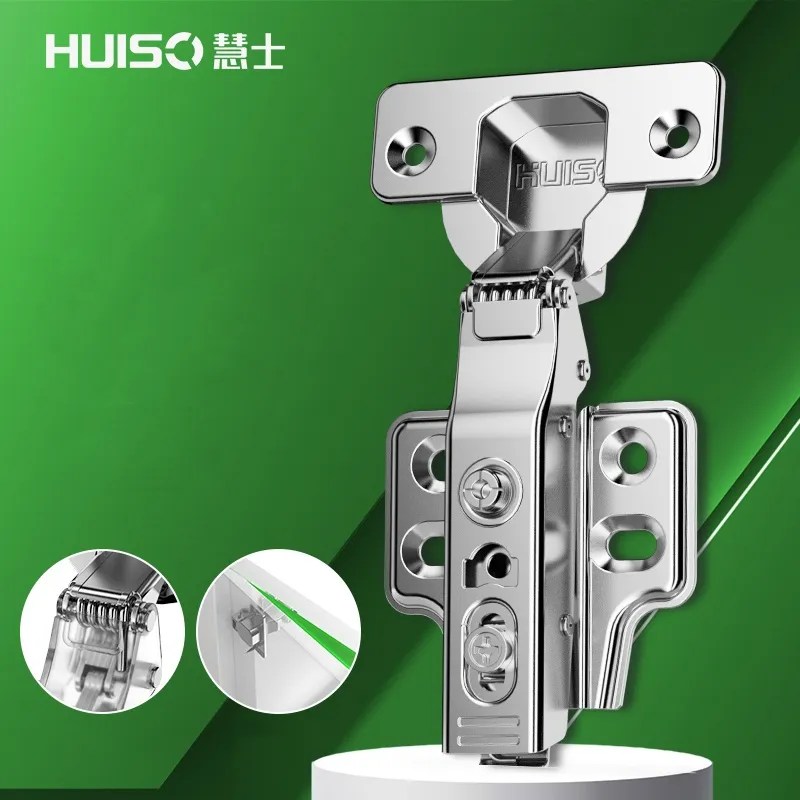
Why Select Huiso Hardware for Your Drawer Slide Requirements?
At Huiso Hardware, we specialize in manufacturing high-quality drawer slides and hinges to your specifications. From standard to custom designs, we offer durable and reliable solutions for residential and commercial applications. Our products are built to last, offering smooth and easy drawer operation for years to come.
With this broad selection and customized wholesale options at hand, Huiso Hardware is your one-stop shop for all drawer slides and beyond. Reach out to us today to discover more about what we carry and how we can assist with your upcoming project.